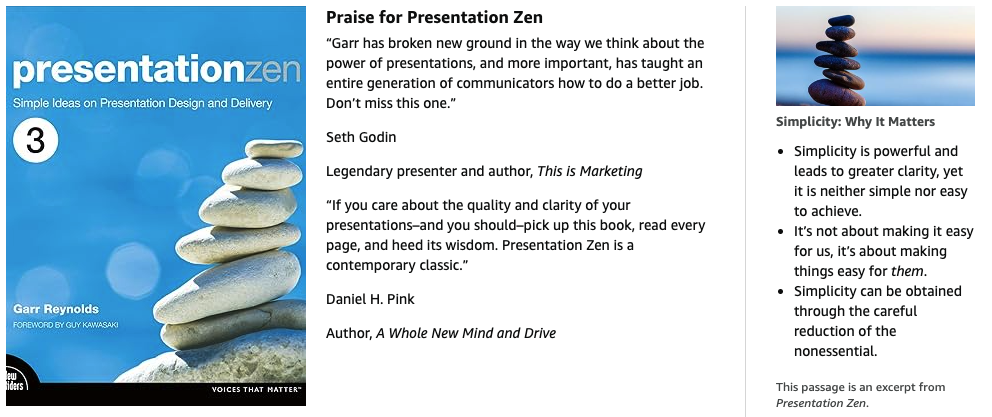
Presentation Zen®
MAKEOVERS (Before/After)
Make it visual

What information are you representing with the written word on a slide that you could replace with a photograph (or other appropriate image or graphic)? You still need text for labeling and key words, quotes, etc. But if you are using text on a slide for describing something, you probably could use an image or a chart more effectively.
Images are powerful, efficient, and direct. Images can also be used effectively as mnemonic devices to make messages more memorable. If people cannot listen and read at the same time, why do most presentation slides contain far more words than images? One reason, historically, is that businesspeople have been limited by technology. Today, however, most people do have the basic tools available for creating high-quality visuals. Modern presentations with slides and other multimedia have more in common with cinema (images and narration/storytelling) and comics (images and text) than they do with written documents. Today’s presentations increasingly share more in common with a documentary film than an overhead transparency or bulleted-list slides of the past.
Before/After slides
Below are some of the sample slides from Chapter 6 or the 3rd edition of Presentation Zen. BEFORE or AFTER appears below the slide as you go through the slides below. Please keep in mind that there is no one correct way to design a slide; there are many ways to design an effective visual. The context matters. The point is to use your own creativity to make visuals that have impact, make the message clear, and help the audience remember your messages.

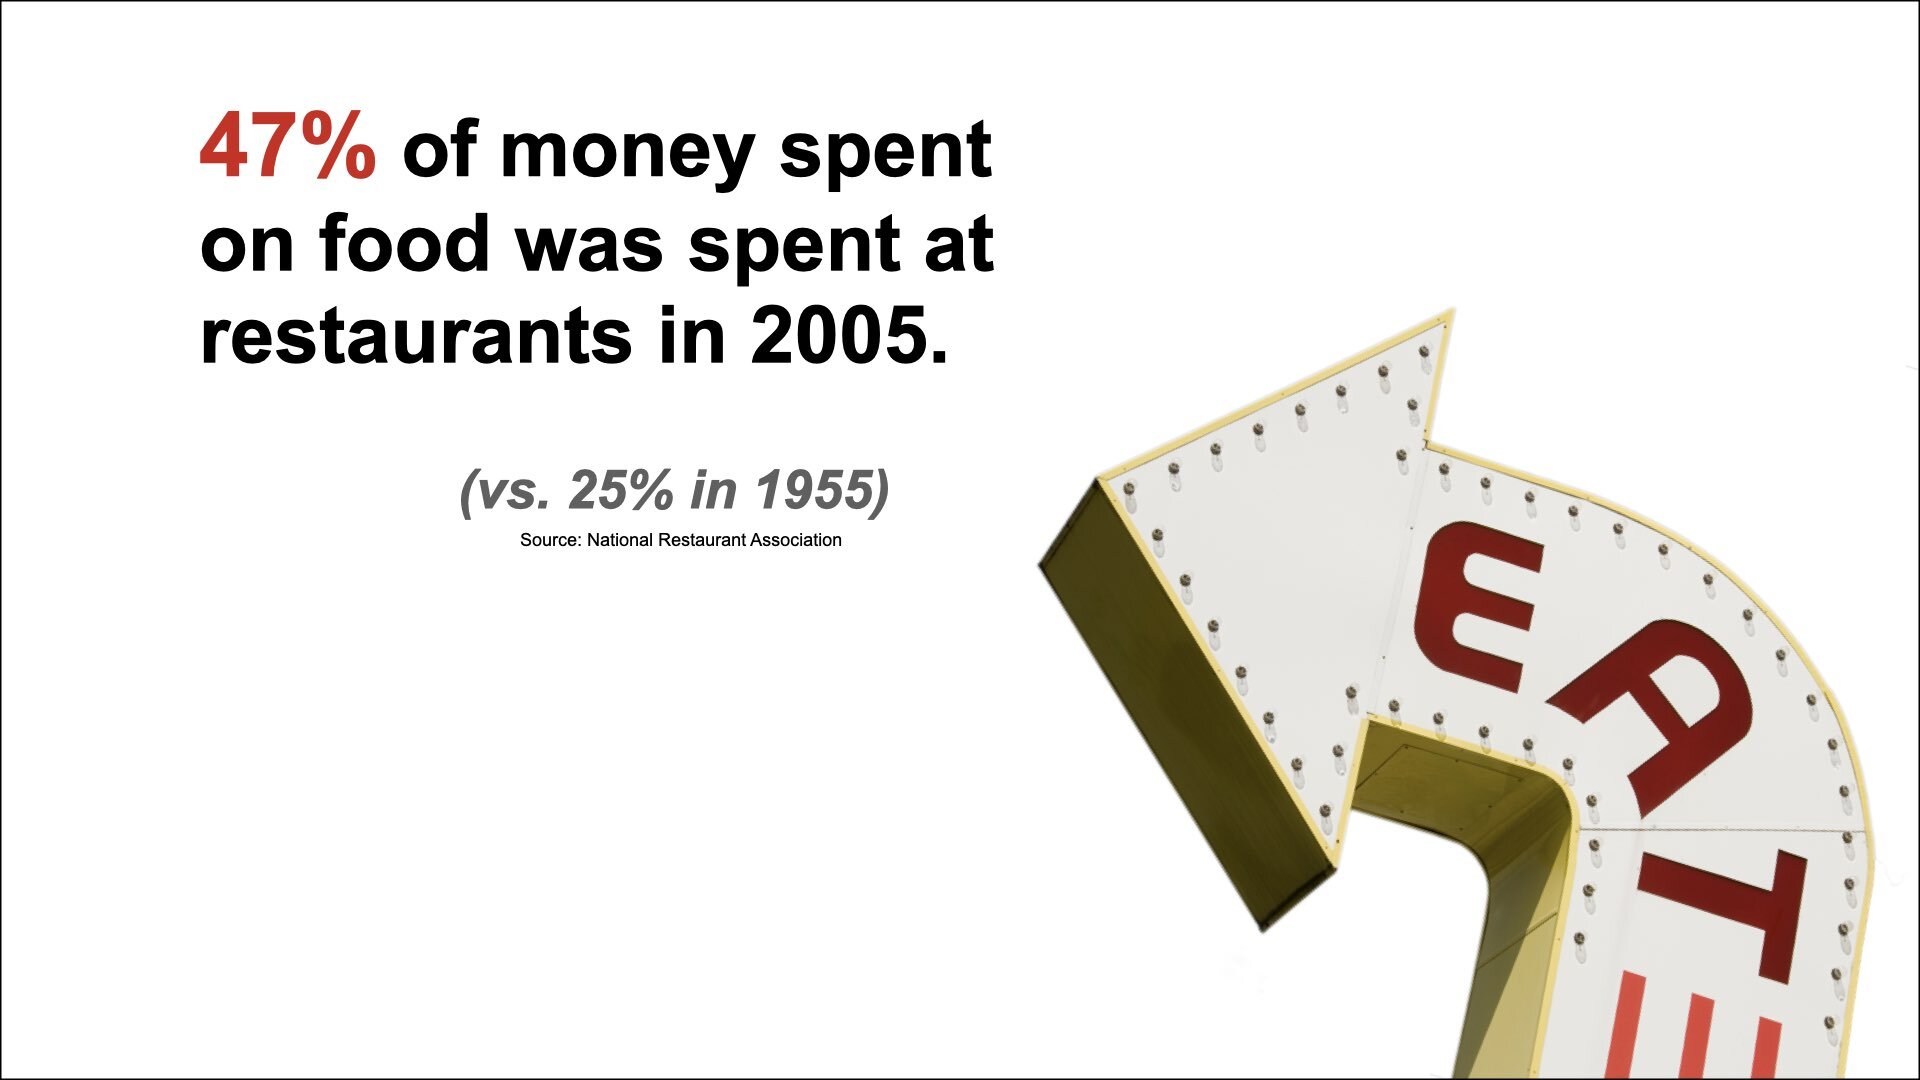
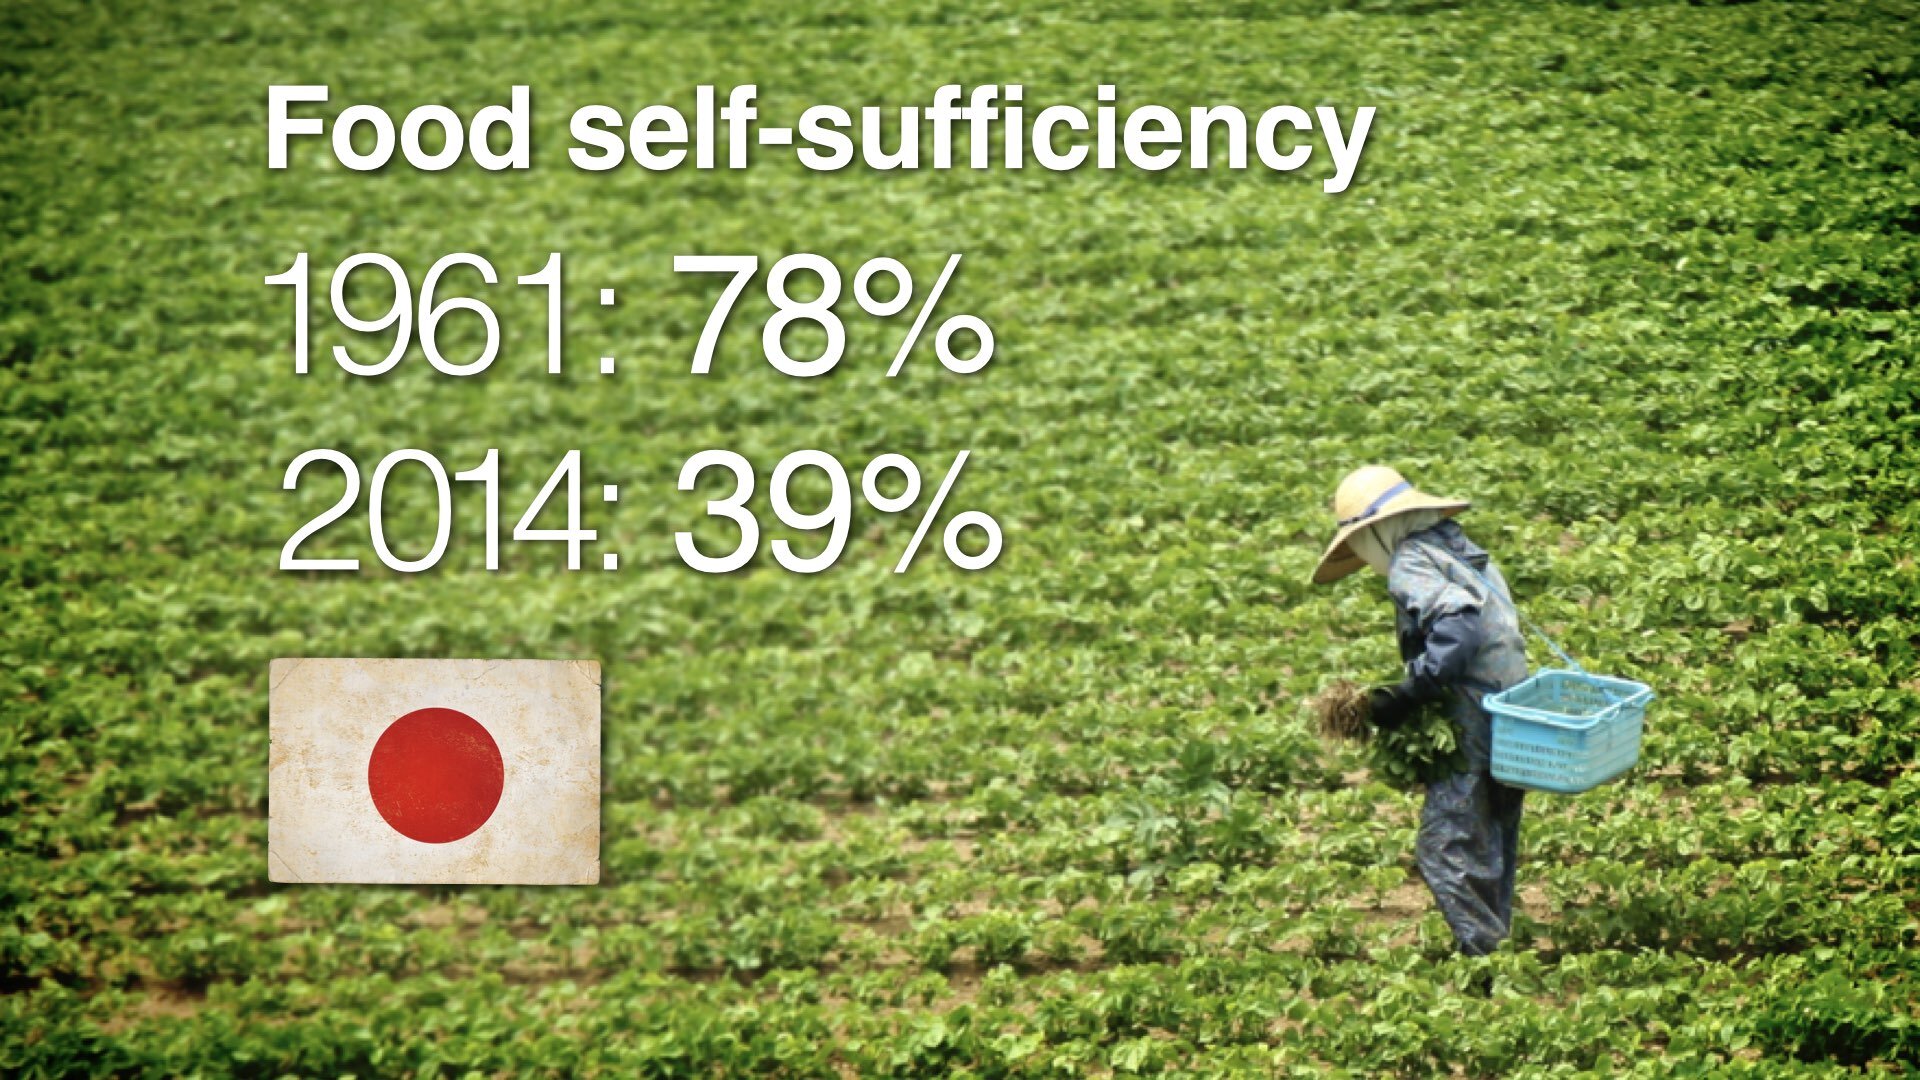
BEFORE This one slide was turned into two more visual slides. Below are a few different ideas. ⬇︎

AFTER: Slide 1

AFTER Slide 2

AFTER Design no. 2, slide 1

AFTER Design no. 2, slide 2

AFTER Design no. 3, slide 1

AFTER Design no. 3, slide 2

AFTER Design no. 4, slide 1 (The “magic move” smoothly reduces type size between slides 1 and 2.)

AFTER Design no. 4, slide 2

AFTER Design no. 4, slide 3

AFTER Design no. 4, slide 4

AFTER Design no. 4, slide5

AFTER Design no. 4, slide 6

And a chart could be used as well.
More examples
Below are more Before/After slides that appear in the Presentation Zen book. The book itself contains many, many more samples and detailed explanations. Feel free to use these samples in your class or just for your personal study. Check back often as more samples will be added on this page soon.

BEFORE (sample 1) ↓

AFTER (sample 1)

BEFORE (sample 2)

AFTER (sample 2)

BEFORE (sample 3)

AFTER (sample 3)
BEFORE (sample 4)

AFTER (sample 4)
BEFORE (sample 5)
AFTER (sample 5)

BEFORE (sample 6)
AFTER (sample 6)

BEFORE (sample 7)

AFTER (sample 7)

BEFORE (sample 8)

AFTER (sample 8)
Slides from past presentations
Here are the slides I used in my 2011 TEDxTokyo talk.