Presentation Zen®
How to Make a Presentation Online
Tips for Presenting Online
Most of the good advice for making a powerful in-person presentation can be applied to on-line presentations as well. The principles are the same—know your audience, prepare well, design compelling visuals to amplify your message, deliver in an engaging, conversational style—but there are a few things that are unique to online presentations that need to be considered. Your audience has even more distractions than if they were sitting in a conference or in a large auditorium. In an in-person presentation, we have at least some control over the audience’s environment, but we have no control over the audience’s environment in an online presentation; all we have is the screen. Therefore, we need to do all that we can to keep the presentation moving forward in an engaging, interesting way. This leads to item number one below:

(1) Simplify even more.
Simplicity is always our guiding principle, but this is even more important with on-line presentations. Ask yourself what is the bare essential for your audience to know. What is that one thing you really want them to remember from your talk? Think carefully about what to include and what to exclude. Related to simplicity is tip no.2. It’s not easy to simplify, but it’s what we must do. It is not about making things easy for us, but rather how can we make things easy for our audience (or students or customers, etc.).

(2) Keep it short & mix things up.
For in-person presentations, it’s a good idea to mix things up and change pace every, say, 10 minutes or so. Dr. John Mendia calls this the 10-minute rule. But for an online presentation, that 10-minute rule is more like a 3- or 4-minute rule. Attention spans are short and they are even shorter on line. So keep it as short as you can while also making a contribution to your audience. Every few minutes you need to ask something of the audience. Such as “give me a thumbs up if you understand” or “raise your hand if you ever have been to _____.” Use short video clips. Do short quizzes or surveys or simply show an image and ask people to tell you what it is, etc.
Do not drone on. You can not do this in a face to face talk either, but it is especially bad online where people can just watch a YouTube video of cats in the window next to your presentation.

(3) Use a variety of visuals.
You are not limited to the slides you may have used in an in-person talk in the past. Using presentation software such as mmhmm you can add JPEGs (or PNG files with transparent backgrounds) and other images and video or GIFS that are full screen or appear next to you or even behind you if you are using a green screen (though online meeting apps allow for green screen effects even if you do not have a green screen (not perfect but not bad). The key is to change the visuals on the screen more often than you may have done in a live presentation. Sometimes, of course, it is good to have no visuals appear on screen with you. The key is variety and pacing to keep the flow moving forward and keep the interest of the audience. Online audiences will tire if you keep a visual on screen for too long. Notice how a documentary or the evening news displays visuals. I am not saying that you need to blast people with visuals like a 15-second TV commercial or an introduction to a sports program, but just keep in mind that changing visuals to support your narrative helps your audience understand and keep engaged.

(4) Make visual elements large.
Remember that many people will be watching on their smart phones and tablets or may have slower bandwidth in their home or office that degrades the quality of the meeting and its visuals, therefore, it’s important to make the elements inside your slides (or other visuals on your screen) as large as reasonably possible. Be bold! Make your elements big! If you use a chart or graph, make sure it can be understood on a smartphone screen, usually this means you will need to make the labels larger that the defaults. Check to make sure any text you use for a headline is as brief and as large as possible. (See Picture Superiority Effect.)

(5) Place yourself well in the frame.
You—and your connection with the audience—are the presentation, not the slides. So why would you turn on the “share screen” mode of your online app that makes the slide large but you are relegated now to a small box in the corner. Instead, use the broadcast news approach. That is, place yourself large in the frame just as you do when your are not showing visuals. Apps like Zoom and Teams, etc. allow you to place yourself inside the slides or use a PIP (picture-in-picture) approach where you can choose to have slides and other visual appear inside the frame with you. I often use mmhmm as a virtual camera with Zoom to pull off a smooth “broadcast news approach.”


BEFORE: Usual way, less engaging.

AFTER: Much better.
(6) Look at the camera.
Eye contact is crucial. It may not feel natural at first to look directly into the camera, but when you do so, for the audience it appears much more like you are looking directly at them. You do not have to gaze into the camera all the time, but get comfortable speaking directly into the camera as much as you can so that it becomes a habit. Also, make sure your camera is at eye-level or slightly above eye-level. If your camera is below eye-level, this forces you to lower your head and look down into the camera which is not a flattering or professional image. Your eyes should be resting on the top third or so of the frame.

Be careful not to get too close to the camera. Webcams generally have quite a wide lens which may distort your facial features a bit if you are too close. Position yourself so that your shoulders are also in the frame with your head almost touching the top of the frame.
(7) Remove clutter behind you.
Your physical environment matters and it should be as clutter-free as possible. Fortunately, the online presentation apps have good tools such as video filters that can remove your background if you can not remove the clutter physically.

Try to avoid a messy environment like this.

Bokeh (blur) filter can eliminate visual clutter.

A clean space gives room for visuals to pop.

Using a well-lit white screen as background.
(8) Get comfortable with your meeting/presentation application.
You do not need to be an expert in using your software applications. But the more you learn about your meeting/presentation app—and more importantly, use the app—the more comfortable you’ll become. YouTube has many lessons on the basics (or even advanced features) of all the online tools. Again, you do not need to be a guru on the tool, but knowing the basics well will free you to focus on what is important, which is the content and your audience. The key is to know your app well enough to feel comfortable so that you can relax and be one hundred percent present with your audience.

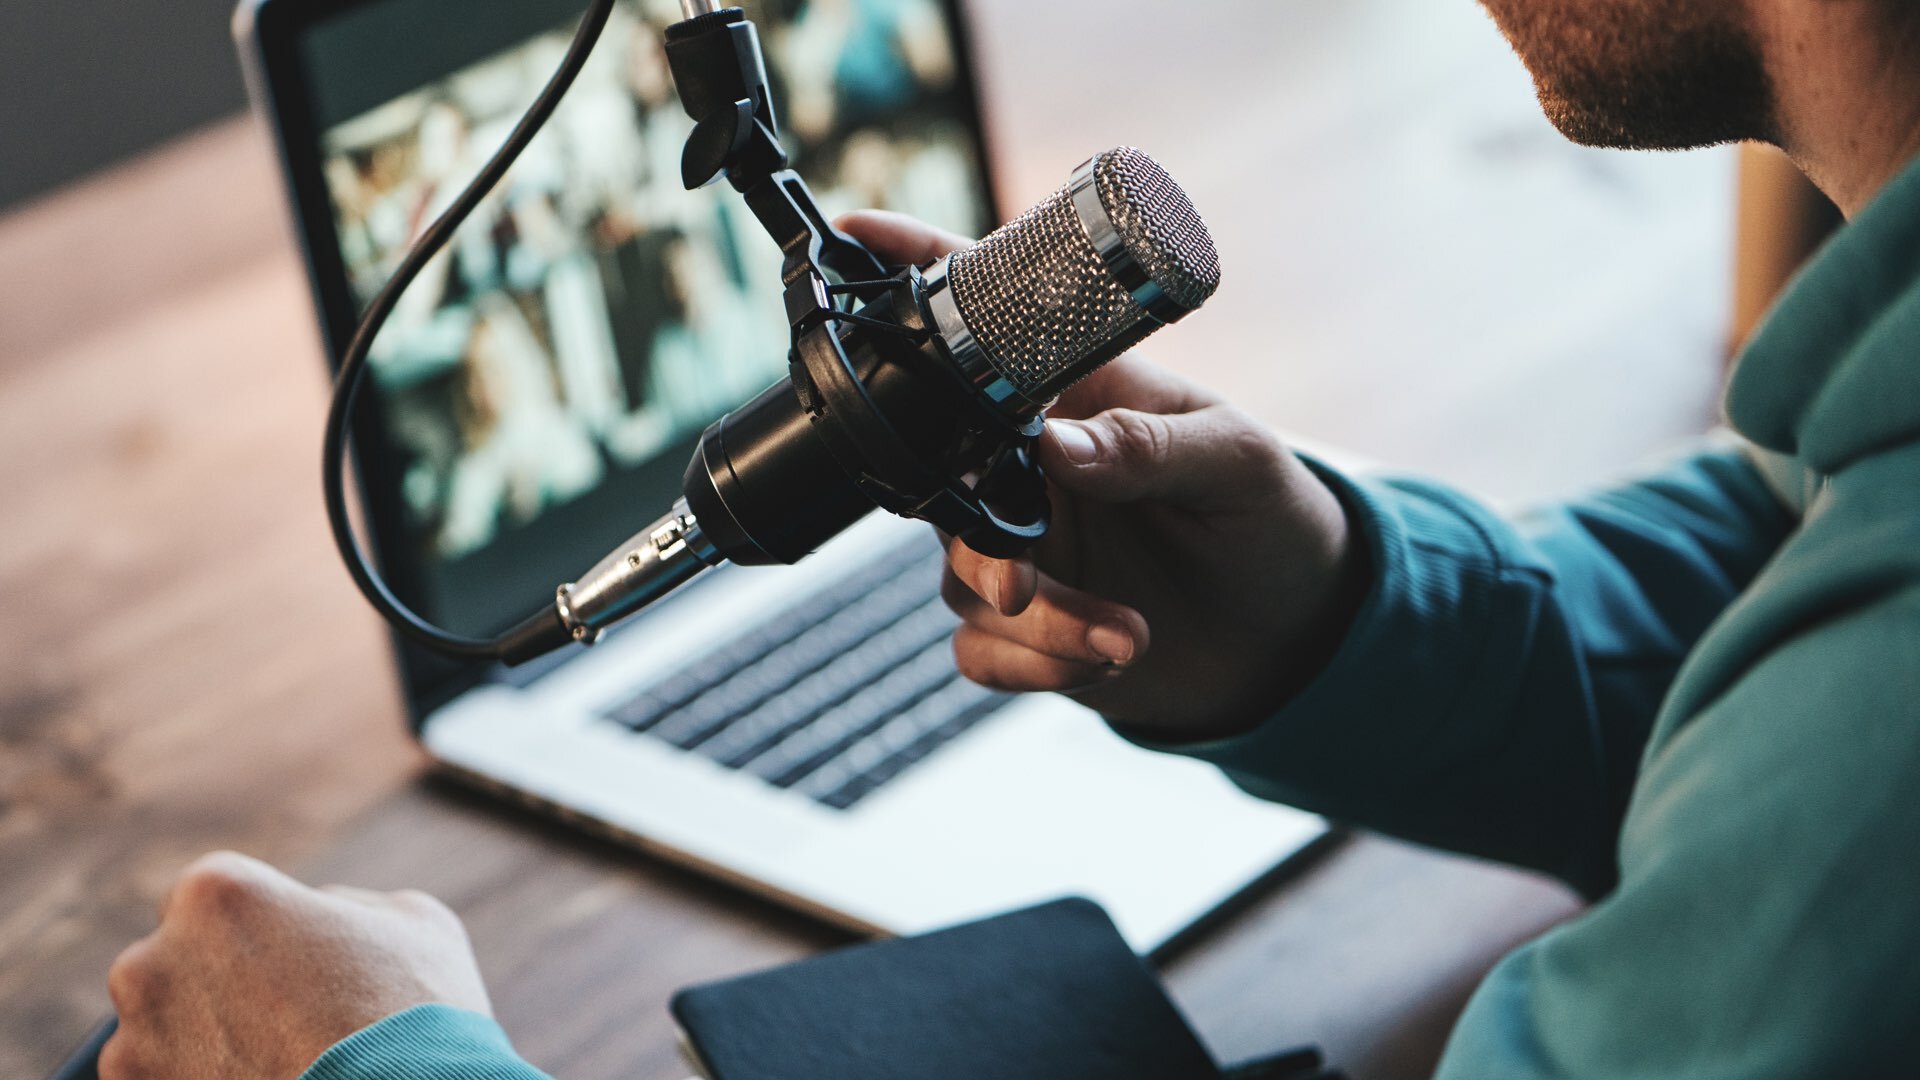
(9) Upgrade your microphone.
This one is so important, it should be number one on the list. Audio is huge. Audiences can tolerate some bad video so long as the sound is great, but they can not endure bad audio no matter how wonderful your visuals. Investing in a good microphone can increase the quality of your presentations instantly 2x or more. Sound quality is paramount but relying on your built-in PC mic does not make a great experience for the audience. There are affordable but really good options such as the Blue Yeti X, or more expensive but outstanding options such as the popular Shure SM7B, or the Heil Sound PR 40 Dynamic Cardioid Studio (which is the one I use).
(10) Upgrade your camera.
The cameras that come built-in to many computers or displays are usually not of great quality. The good news is you probably all ready have a better camera in the form of your smartphone. You can connect your smartphone directly to your Mac or PC and simply choose that camera instead of your built-in PC camera. A more expensive option is to invest in a DSLR or mirrorless camera. Cameras such as the Cannon M50 are quite popular and capture a great image.

Connecting a DSLR or mirrorless camera.

Smartphones and GoPros make good webcams too.
(11) Improve your lighting.
Proper lighting will make a huge difference in your appearance. Even if you are only able to use the lower quality camera built in your computer, proper lighting will vastly improve your video image. You could use a desk light that is positioned directly over the camera with a soft bulb. But I recommend using lights with diffusion (what’ that?) so that it creates the softest light possible (see photo below). These lights are very popular and not too expensive (these are also popular and effective). A window, however, can also be a great source of light. The widow should be in front of you and directly behind the camera. A white curtain or even a bed sheet can be used to diffuse the light. If it is an overcast day, you may not need diffusion material over the window (but a partly-cloudy day can be problematic since the widow light will change periodically as the sun breaks through).

(12) Use a direct ethernet connection.
Computer speed and internet speed matter a lot. If you can, connect your computer directly to your router with an ethernet cable (rather than using your wifi). I know it’s not always possible to upgrade your internet speed or to buy a faster computer. Both of these things do matter and are worth the investment if you can afford it. If you can not upgrade the internet connection and/or your computer, you may consider not showing video clips, for example, as the performance for the audience may not be good. But test these things out. For a long time, Zoom was not performing well for my presentations, but once I upgraded to an M1 Mac (the M1 Mac Mini is quite reasonable for the performance) and connected my computer to our router via a cable, video, etc. became very smooth. There was a huge improvement in quality once I increased the quality of the computer and internet connection.

13 Ways to Make a Killer Online Presentation
In this video below, I show thirteen concrete things you can do to increase the quality of your online presentation in Zoom (or Microsoft Meetings, etc.). There are actually more than thirteen in the video, but I organized around thirteen essential tips. I recorded this in mmhmm. You can do this same kind of presentation live in Zoom by using mmhmm as a virtual camera.
Presentation Zen Approach to Recording Online Presentations
I recorded this presentation in one take in mmhmm with no editing in post. If you go here you can see the interactive version of the same video. https://mmhmm.app/events#simplify-to